This is were I found it. I only remembered to take a picture when I already put the thing into my car. It was laying tube down on the fridge.

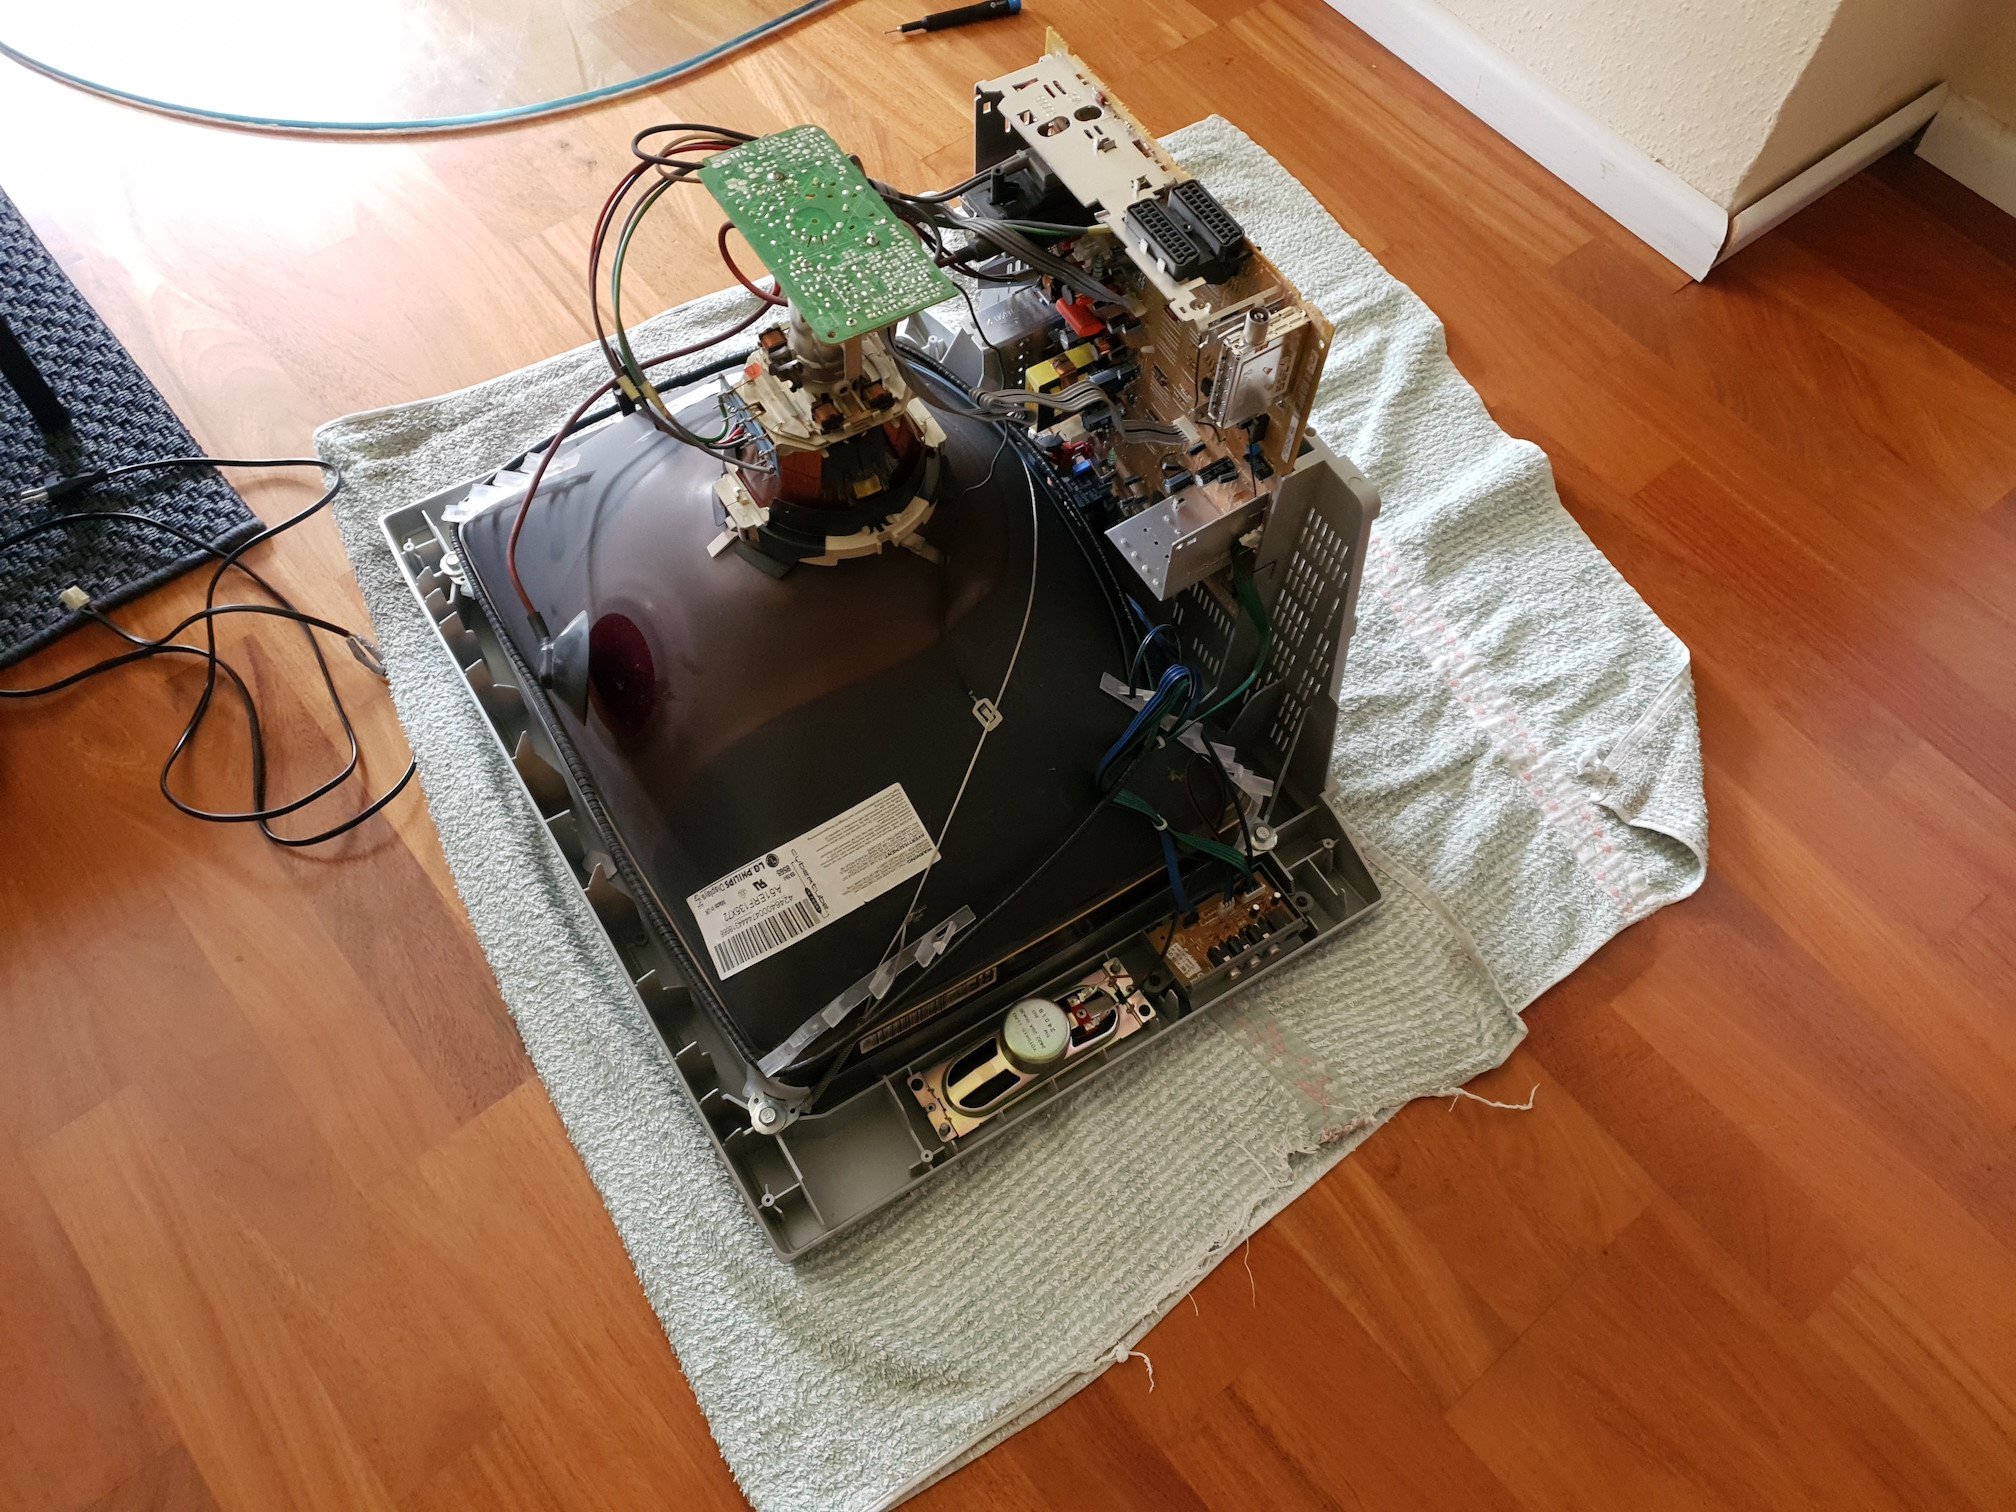
This was also my first time working on a CRT. Was kinda scary, but nothing happened in the end. Not even a spark when discharging. Guess these newer sets all have a resistor that drains the voltage built in (this TV is from November of 2002).
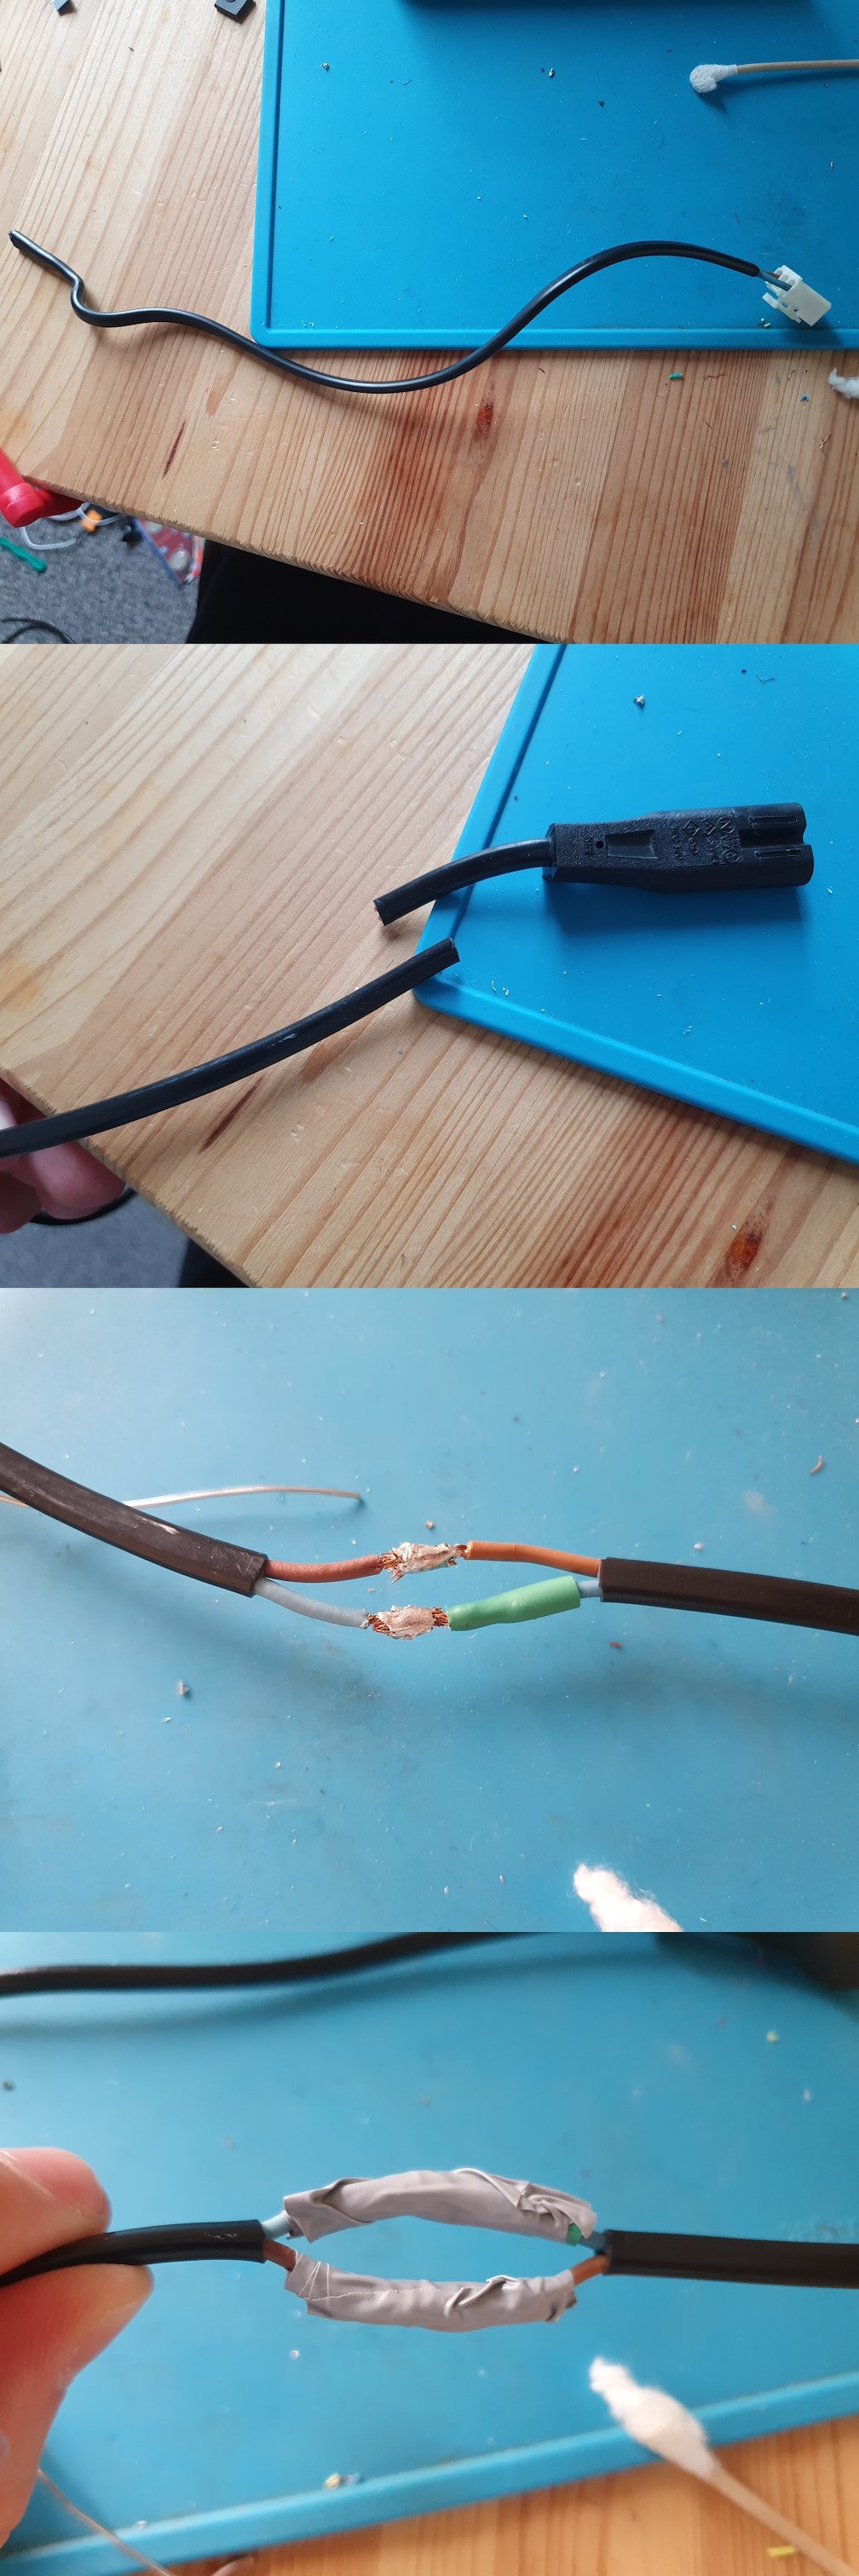
The power cable uses a connector, so I could just remove the cable and solder a new one to it. Soldering it directly to the board would have probably looked cleaner, but I guess this worked well too. I simply cut off one end of a normal power cable and soldered it to what was left of the existing one. I planned on using heatshrink tubes, but they already shrinked while soldering. I just ended up using electrical tape instead. Not the cleanest soldering work, but it does the job.
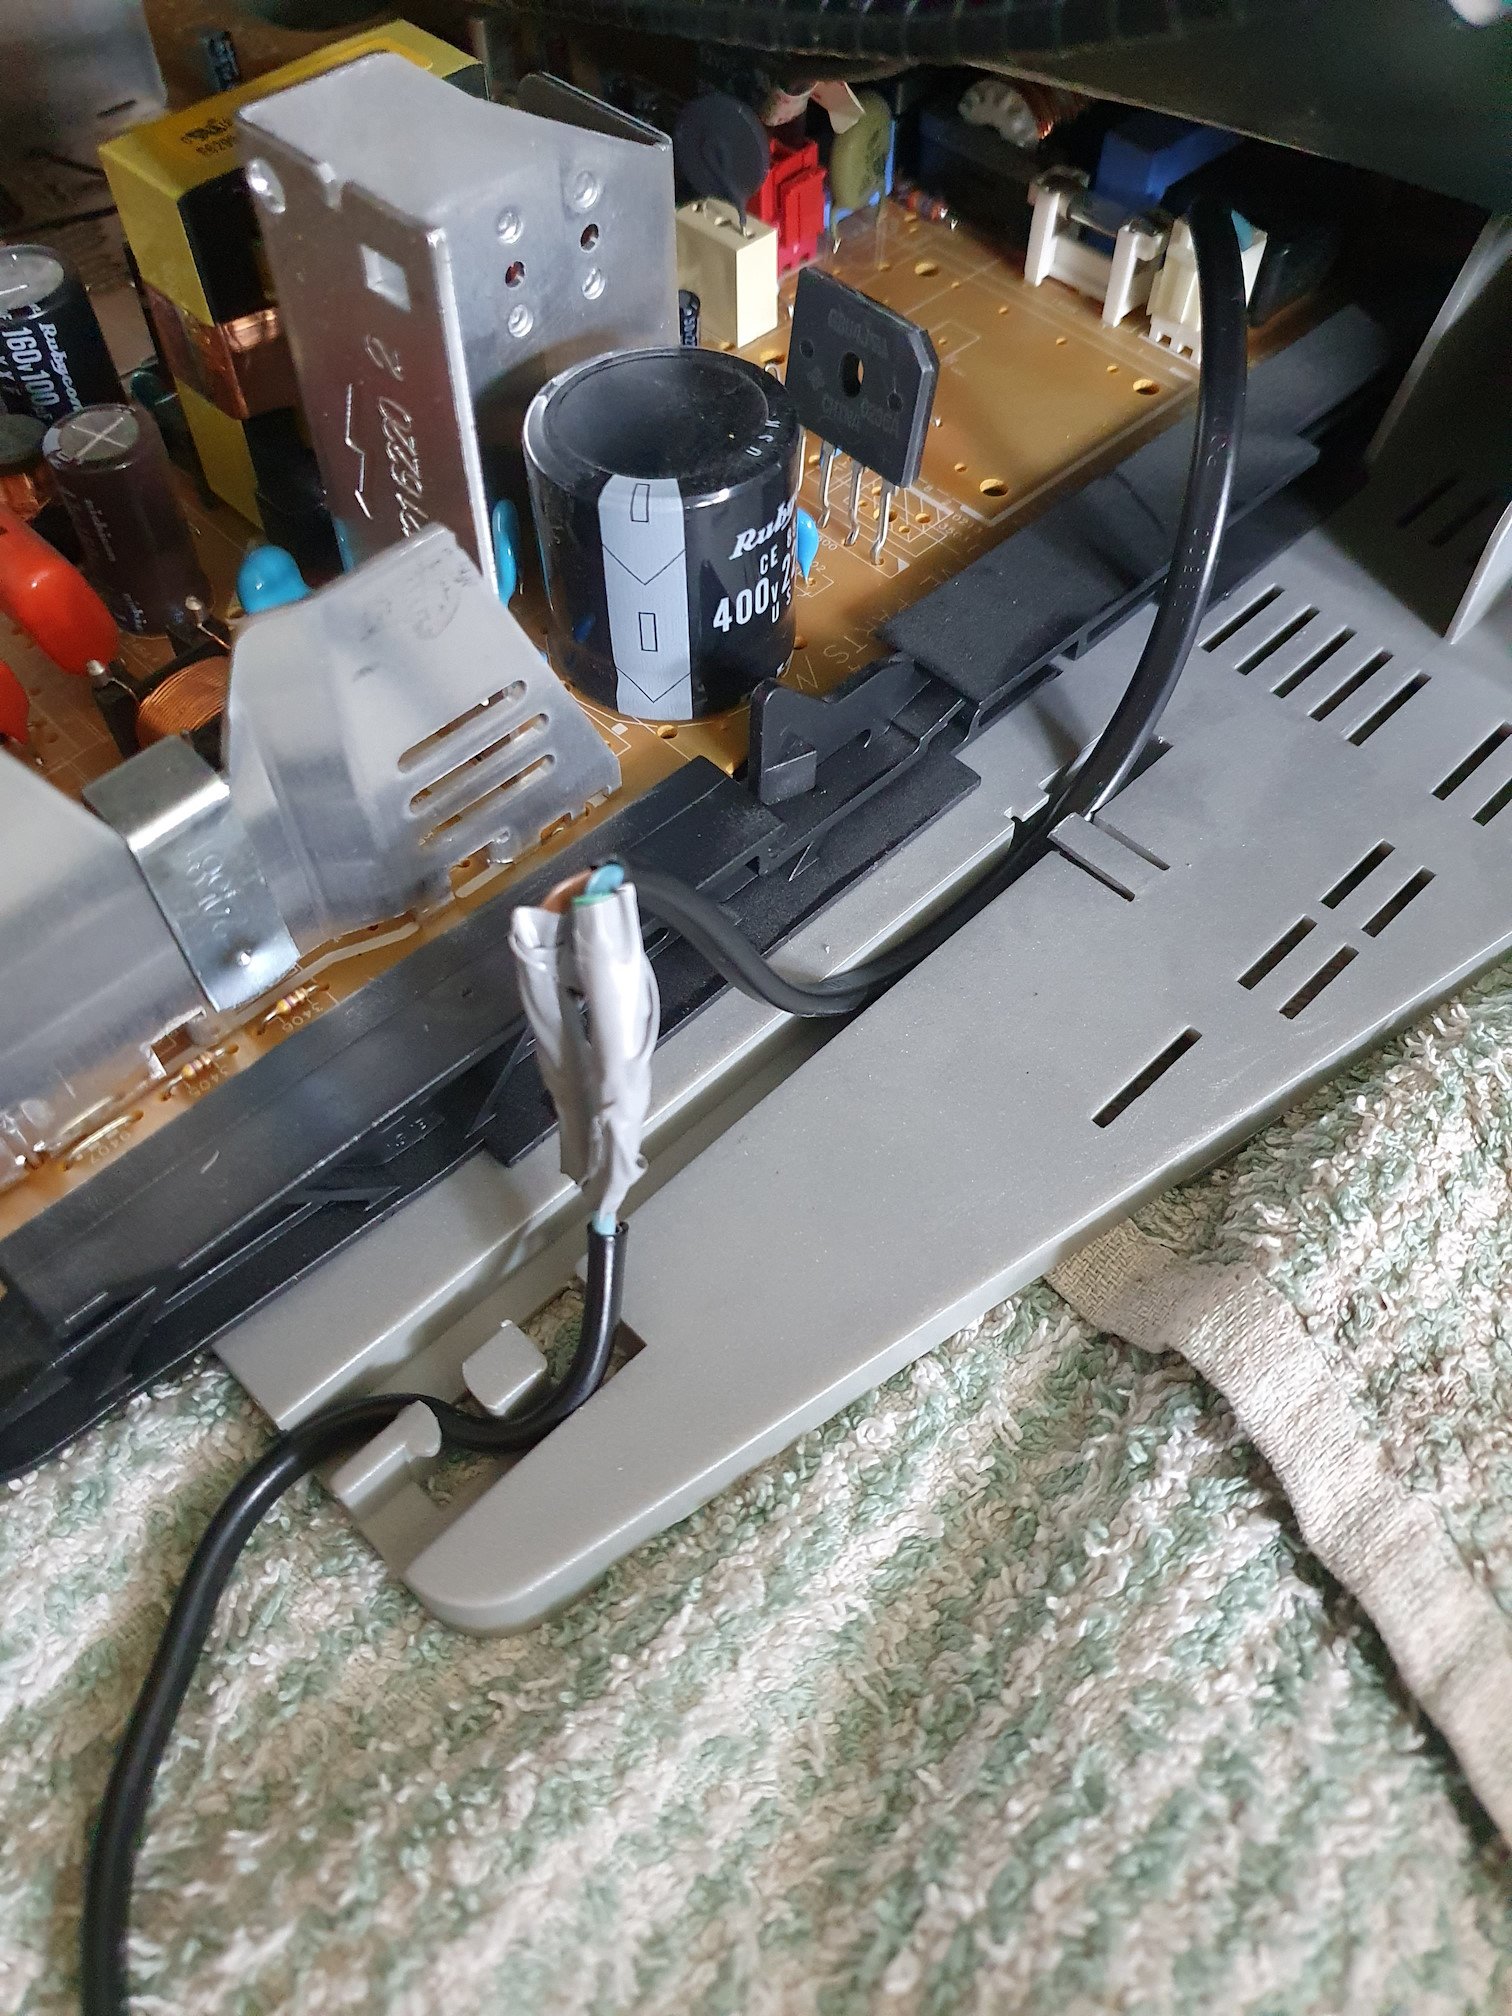
This is how it ended up looking inside the TV:
I wanted to be on the safe side when turning the CRT on for the first time, so I did it outside.
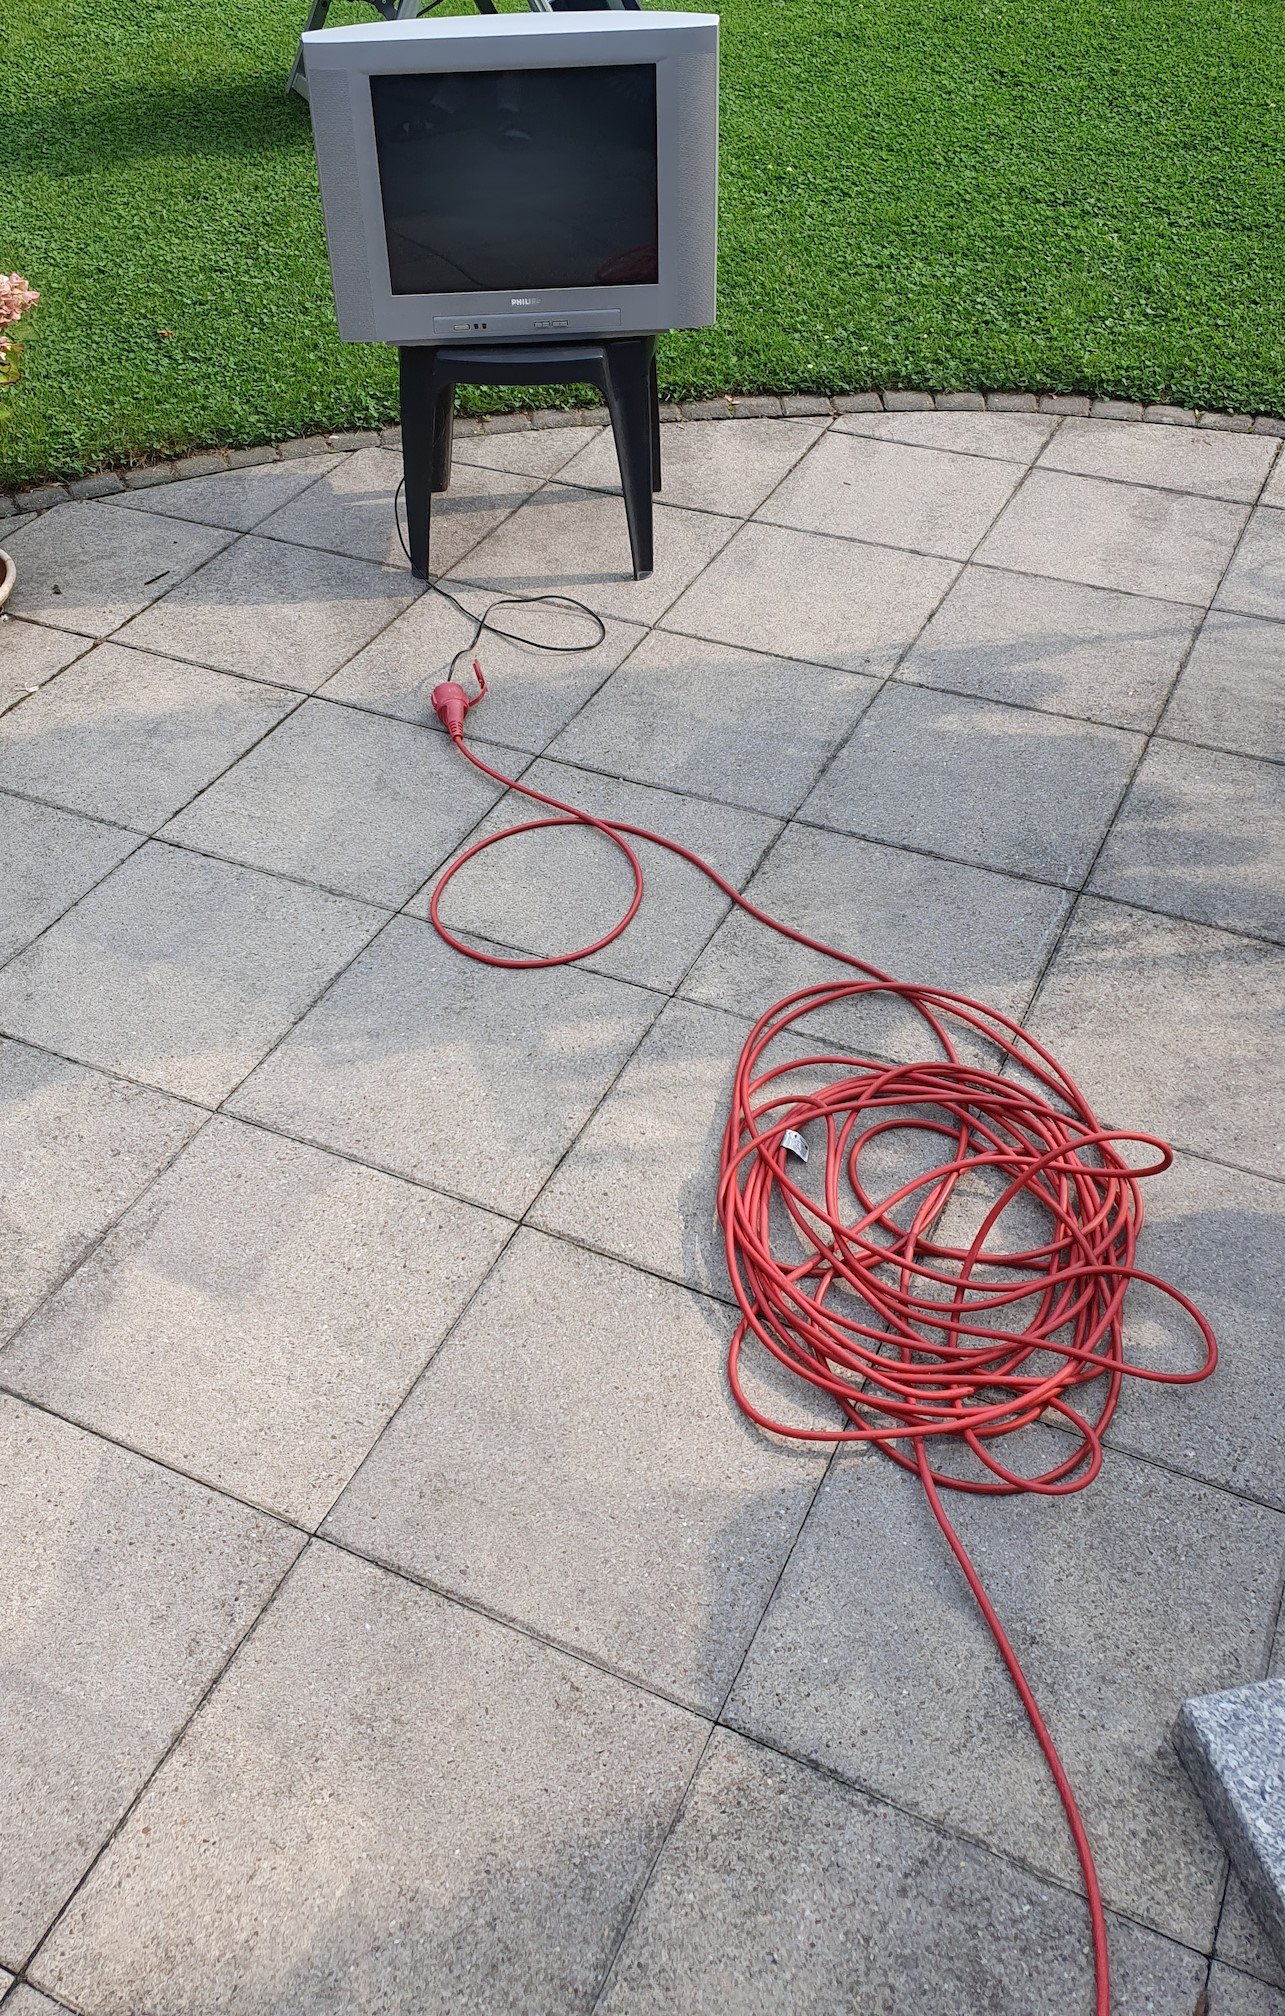
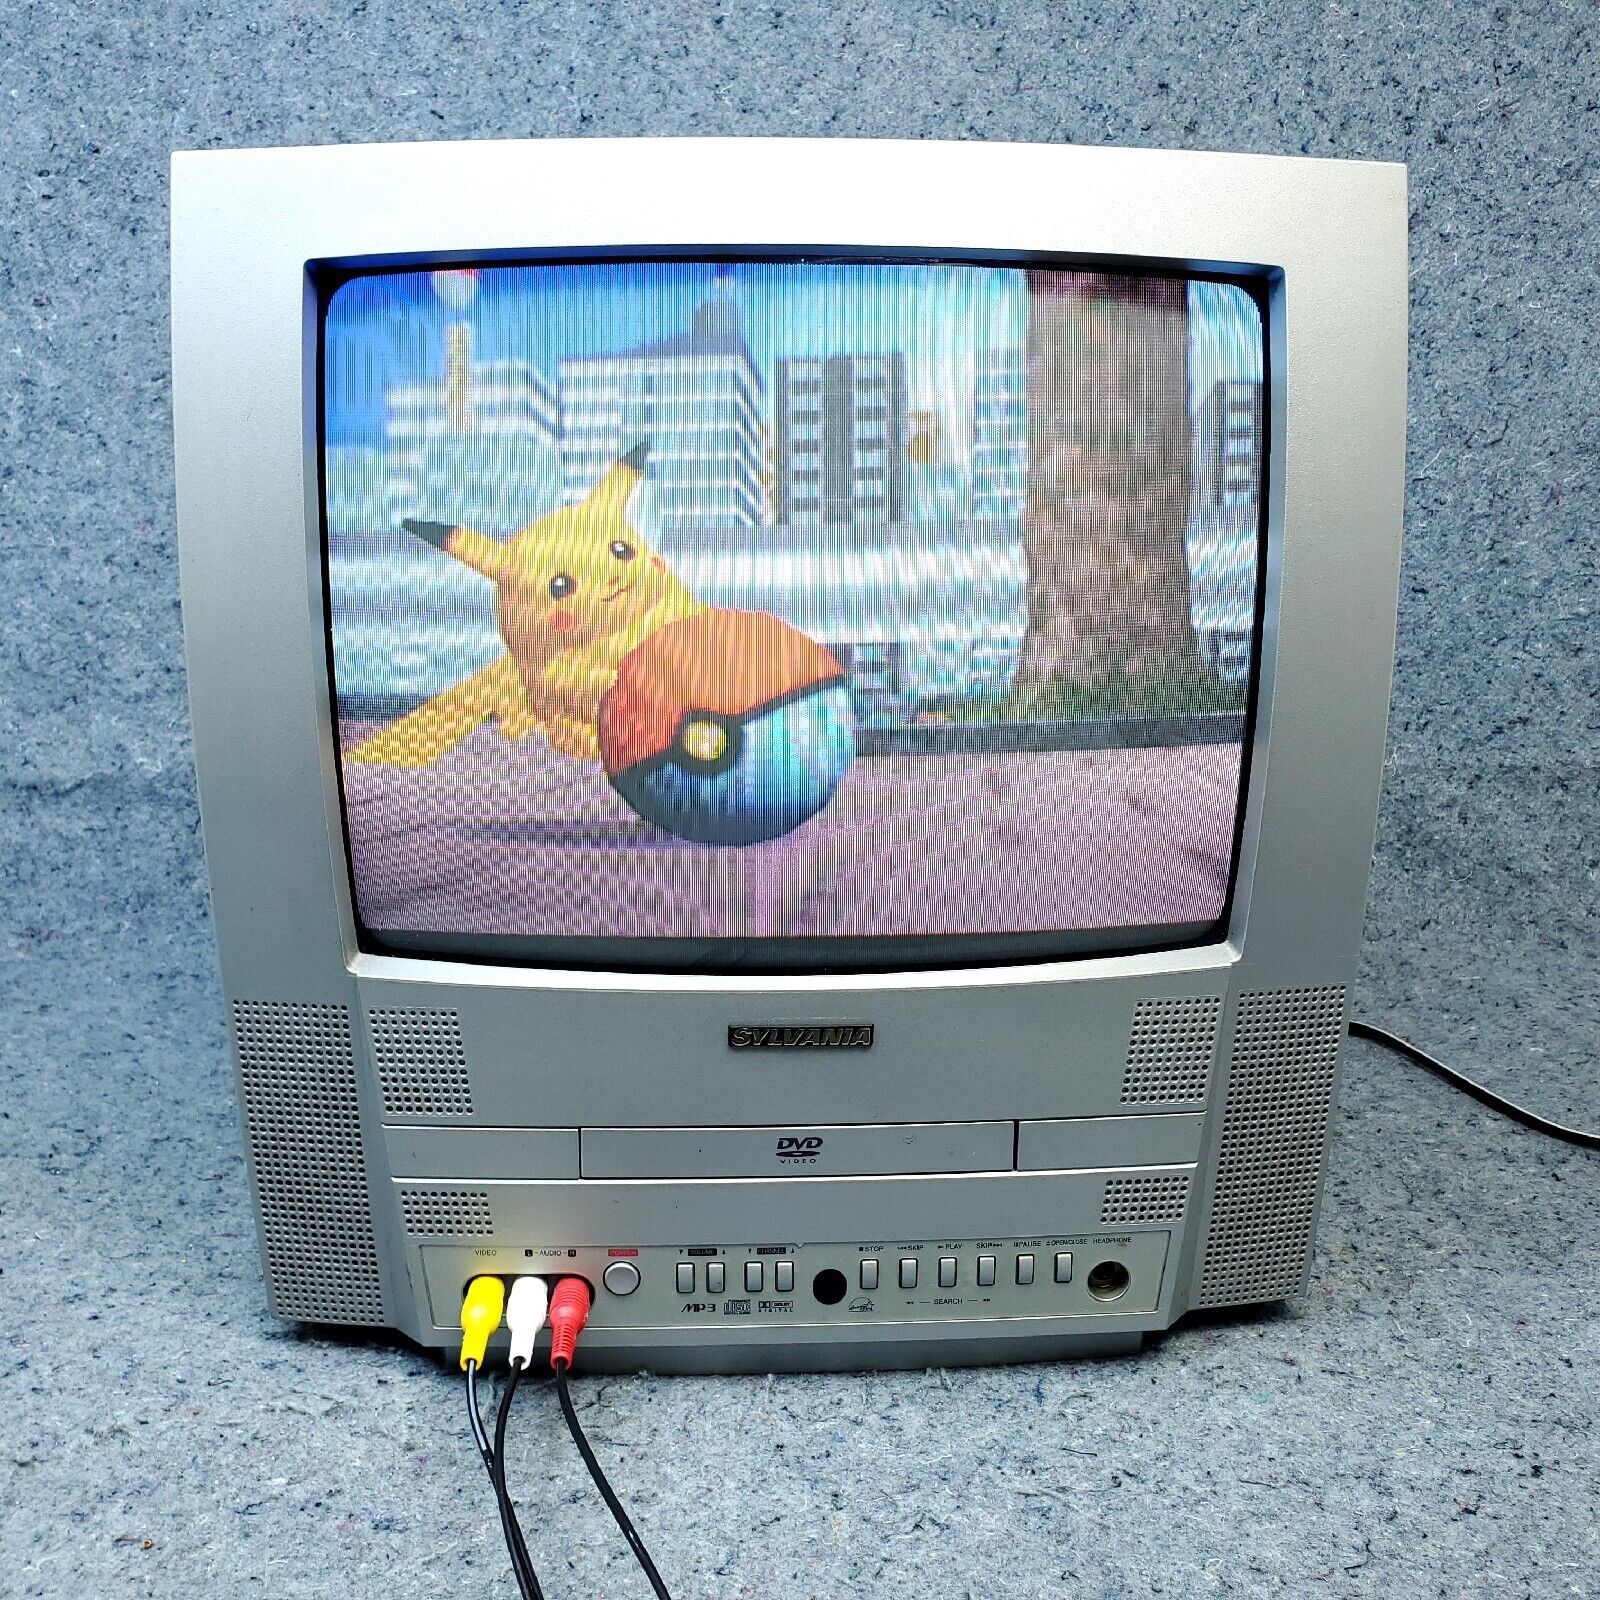
It did power on, and looks pretty damn good!


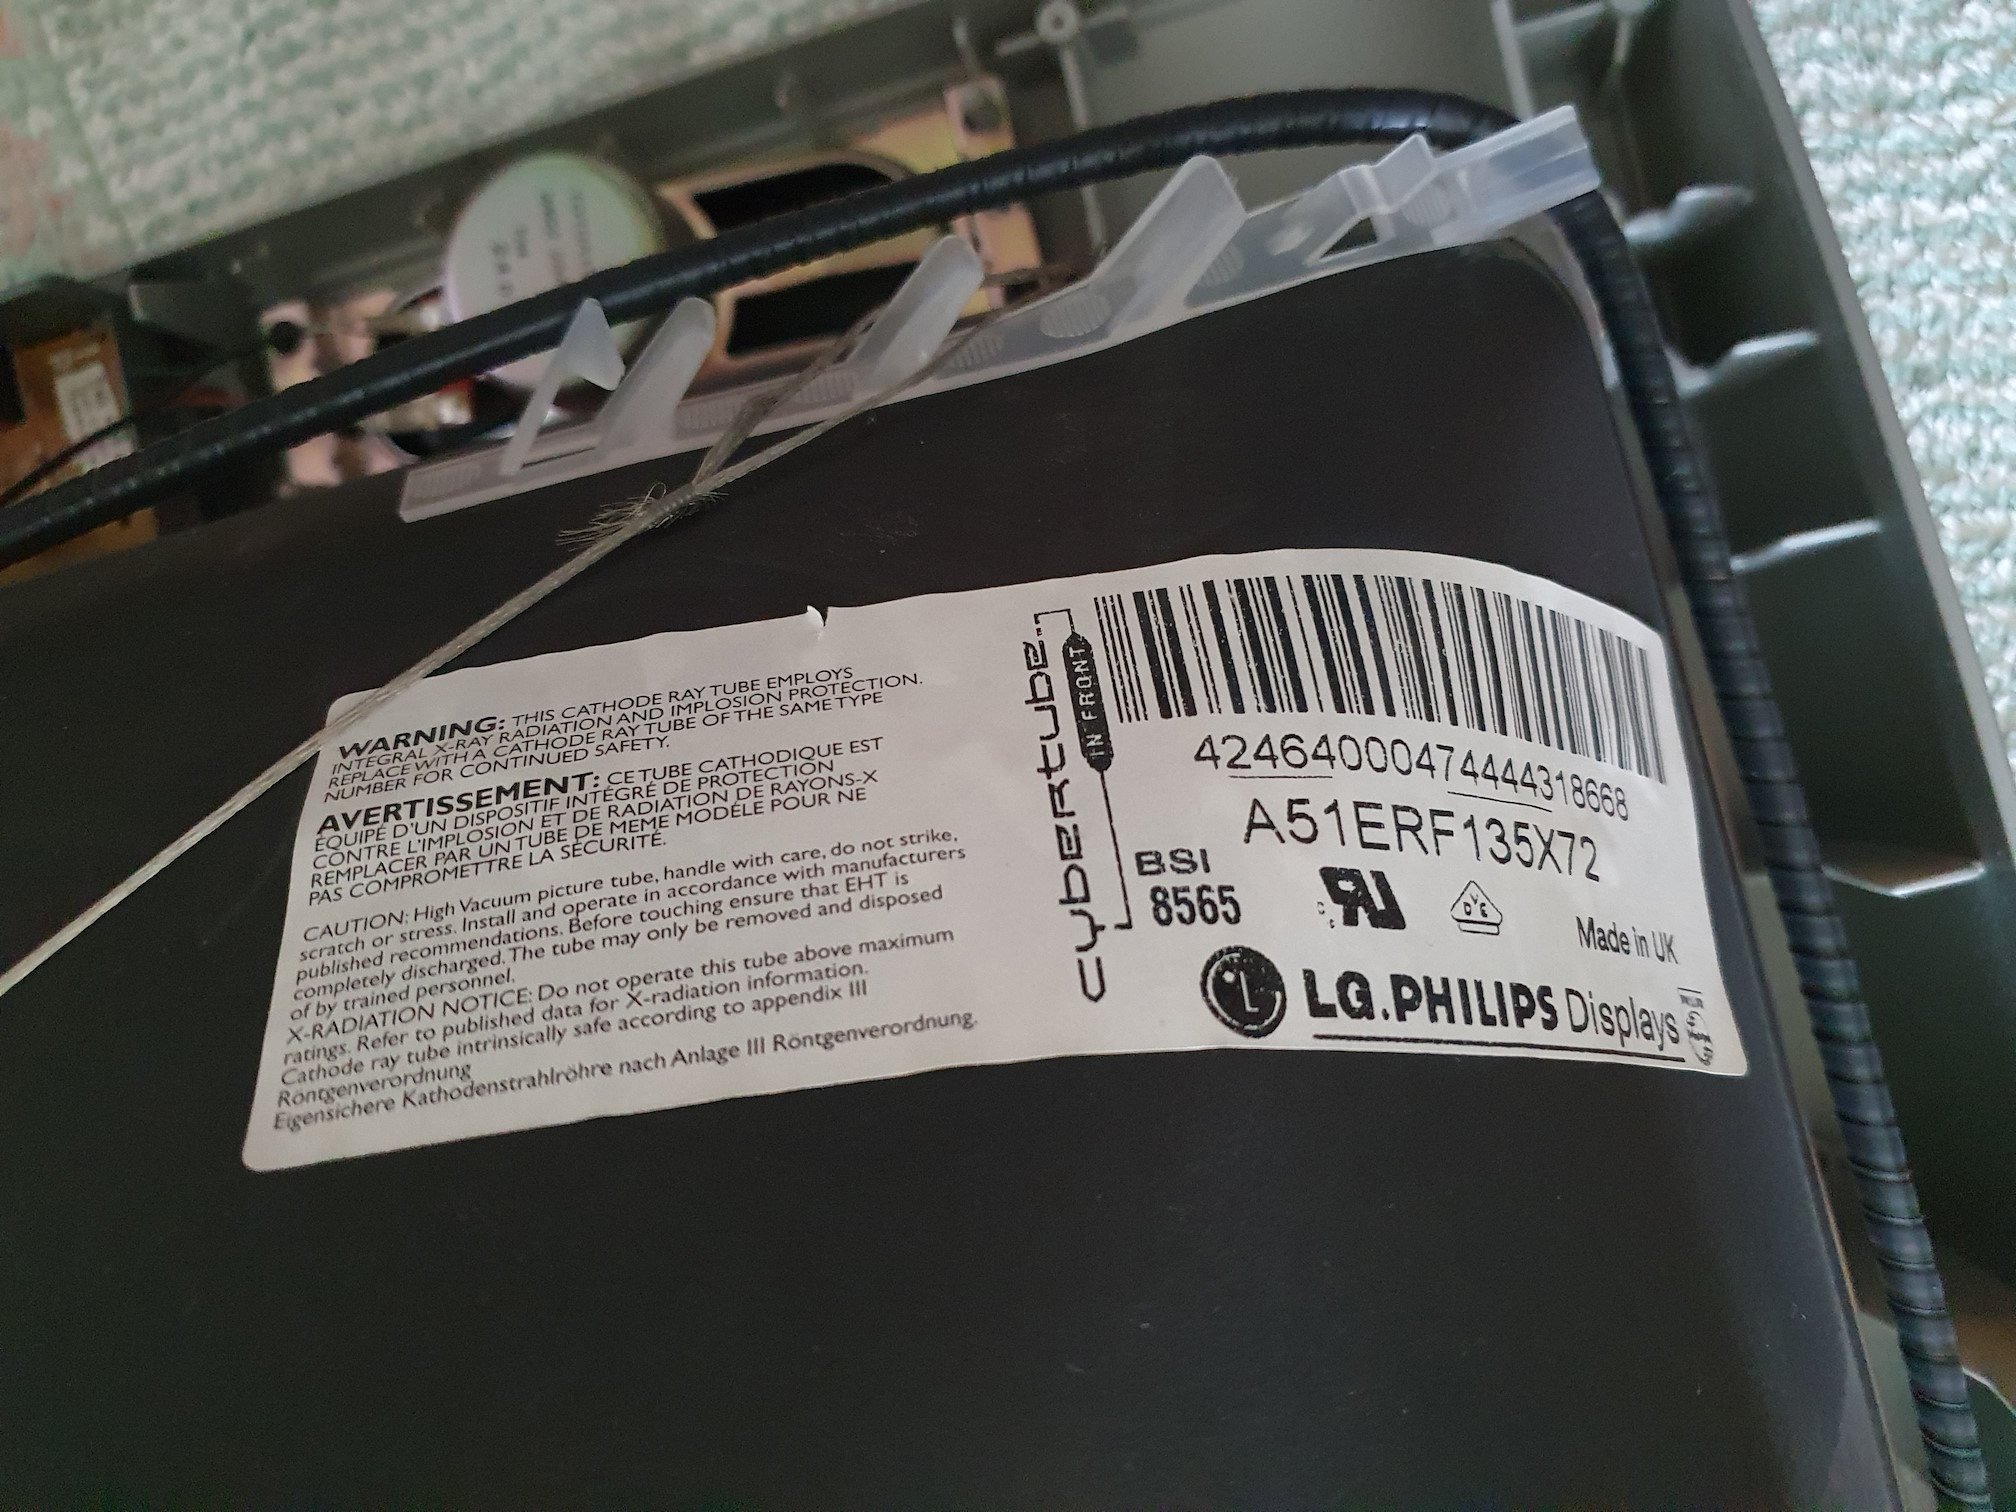
As it turns out, the tube was actually made in the UK. I think that’s pretty cool, since everything has to be made as cheaply as possible today. The whole thing seems very well built in general, Rubycon capacitors everywhere.
 #
#
Of course I don’t have the remote for it, so I didn’t change any setting when taking these pictures. The black levels were still pretty bad, and geometry could be better as well. I ordered a remote to dial everything in, I hope it looks even better after that.

That solder joint is super cold, you need to apply some flux and heat it more before applying the solder. Probably fine, but safer to re-do it.
Yes you’re right, it really isn’t the cleanest soldering work. I’m still practising a lot.
It is probably fine though, I tried pulling the cable apart where I soldered with quite a bit of force, but it didn’t loosen a bit.
The TV also only consumes 52W according to the back label, so it should be fine.
On the other hand through, this really is a connection that needs to be really solid.
You’re right, I should probably revisit it. I’ll see when I have time for it.
You’re right, it’s probably fine. The current wouldn’t be an issue, since it uses basically no power. And the joint doesn’t look like it would cause a high resistance.
But the thing that can happen is the solder cracks and the wires seperate a little bit. This causes arcing, which could cause a fire. Especially on 230-250V like we have in Europe this can be an issue. But it’s very very unlikely.
No worries man, you did good and we are all learning our whole life. Just re-do it when you get the chance and consider it practice.
I love that you rescued a dumpster TV. I recently refurbished an old (1983) CRT monitor, brought it back from the dead and made it almost good as new. I have some cosmetic work to do, plus a vertical size issue that’s intermittent. But other than that it’s perfect. Saving shit from going to landfill is always worth while.
Would it be an option to connect both wires using 2 WAGO clamps? Less messy and less to worry about soldering work.
Good question. Now that I think about it, that should have worked well too. If they’re rated for 230V and that 52W power consumption, there shouldn’t be anything to worry about.
Though with the way its now, its probably fine too. You see, while my soldering work was anything but good, there’s a stress relief inside the case so that even when you pull the cable, it’s not gonna move in the inside. So I don’t think that connection is gonna get loose.
Still, good suggestion nonetheless. It would have probably been the easier choice for a soldering beginner like myself.
It’s a nice and easy way to practice some soldering 🙂