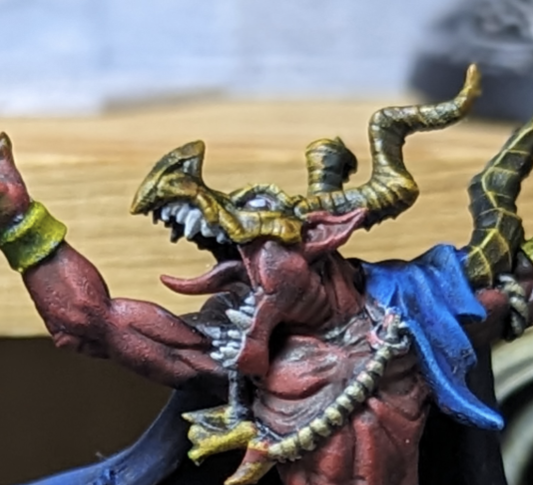
You looked, didn’t you.
This is slightly different than my normal paint jobs. As evidenced by the background of the picture, he was painted using only cheap craft paints (save for the sword and other metallic highlights). The reason for this is that I plan on hosting a Mini Painting Party, where I’ll be providing all the supplies needed to paint up some little dudes. I want to do this without breaking the bank, but I also wanted to make sure that the cheap paints weren’t going to make the experience unenjoyable. So, I put together the same kit I plan on giving everyone (#0, #1, #2 brushes, a DIY wet palette and some toothpicks) and got to work.
I’ve got about a dozen of this same mini. I might tweak the color scheme a bit, but the plan is to teach everyone step-by-step how to replicate the above, then bust out the assorted minis once everyone has an idea of what they’re doing. Originally, I was going to pull the nice paint out after the first mini, but after seeing how well the cheap stuff held up, I think I’ll save the pricey stuff for myself…
That being said, the craft paint worked much better than I was expecting. Part of it is likely due to the experience I’ve gained since I last used the stuff, but the only time I felt frustrated with the paint was when applying the final wash a good amount of green washed off. This happens to me a lot when applying washes so I think it’s more something I’m doing than the paints fault, but it was much worse with this craft paint than the nicer stuff.
Anyways, here’s a couple other angles.
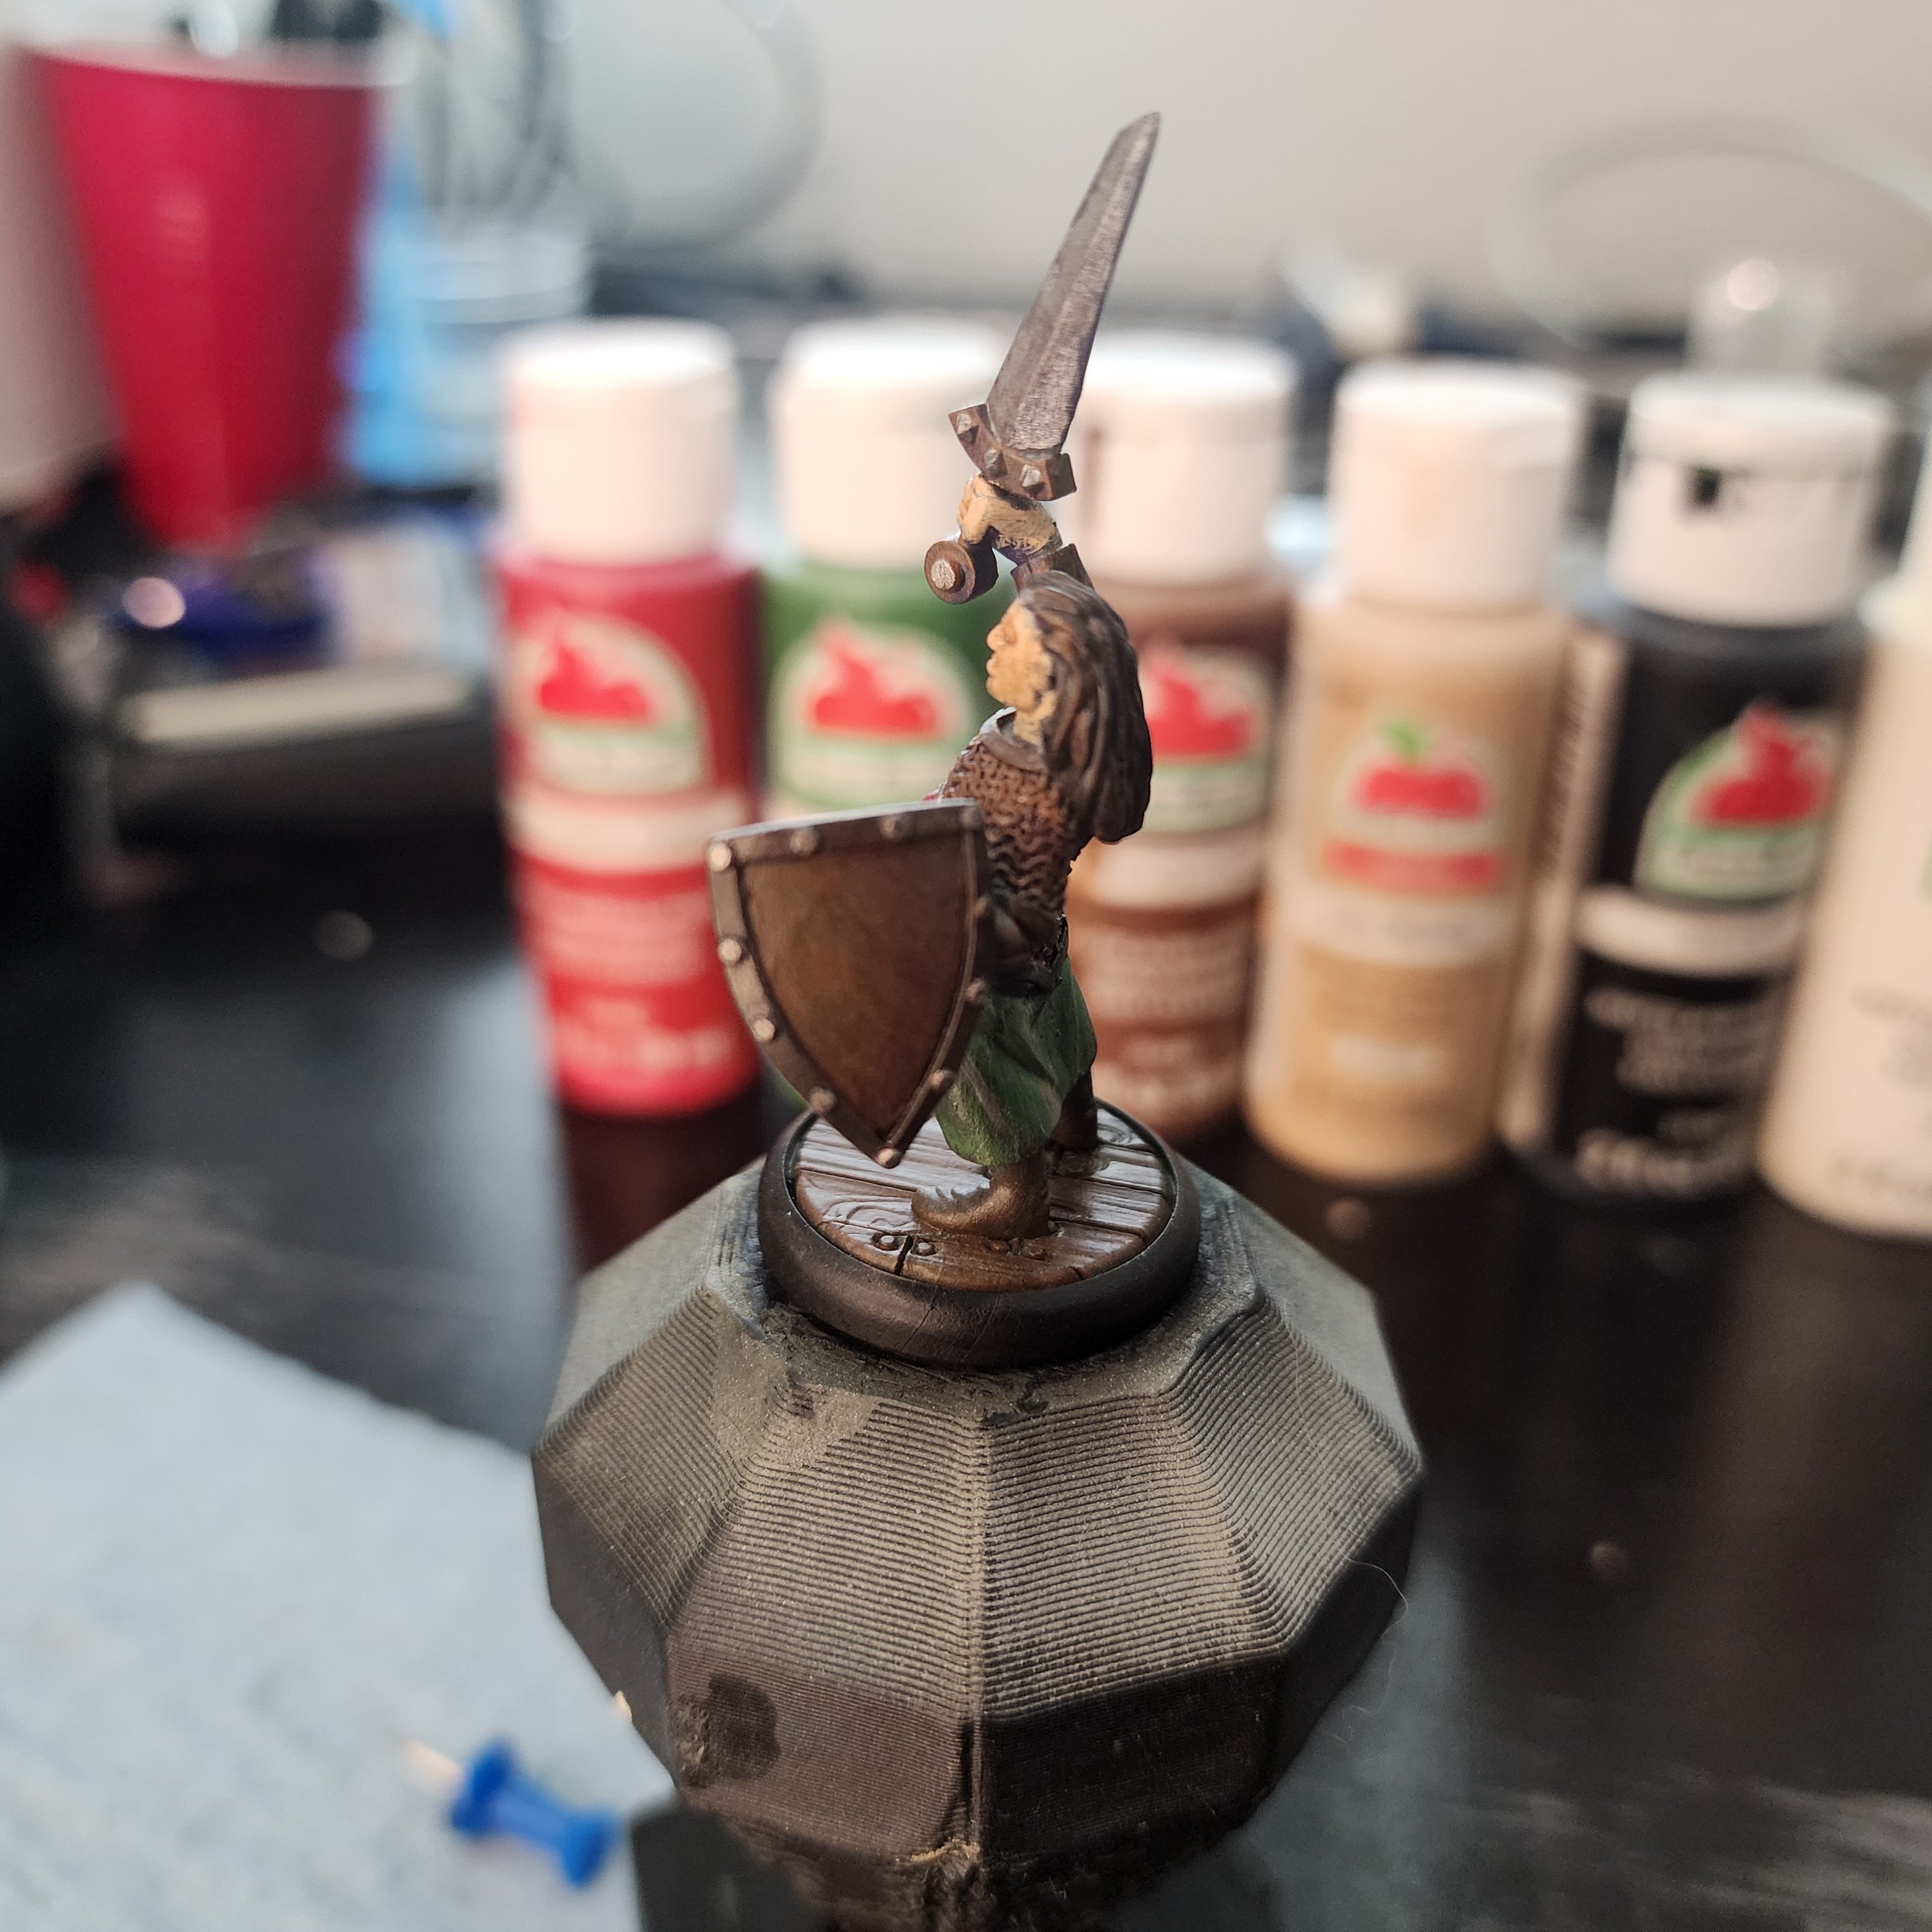
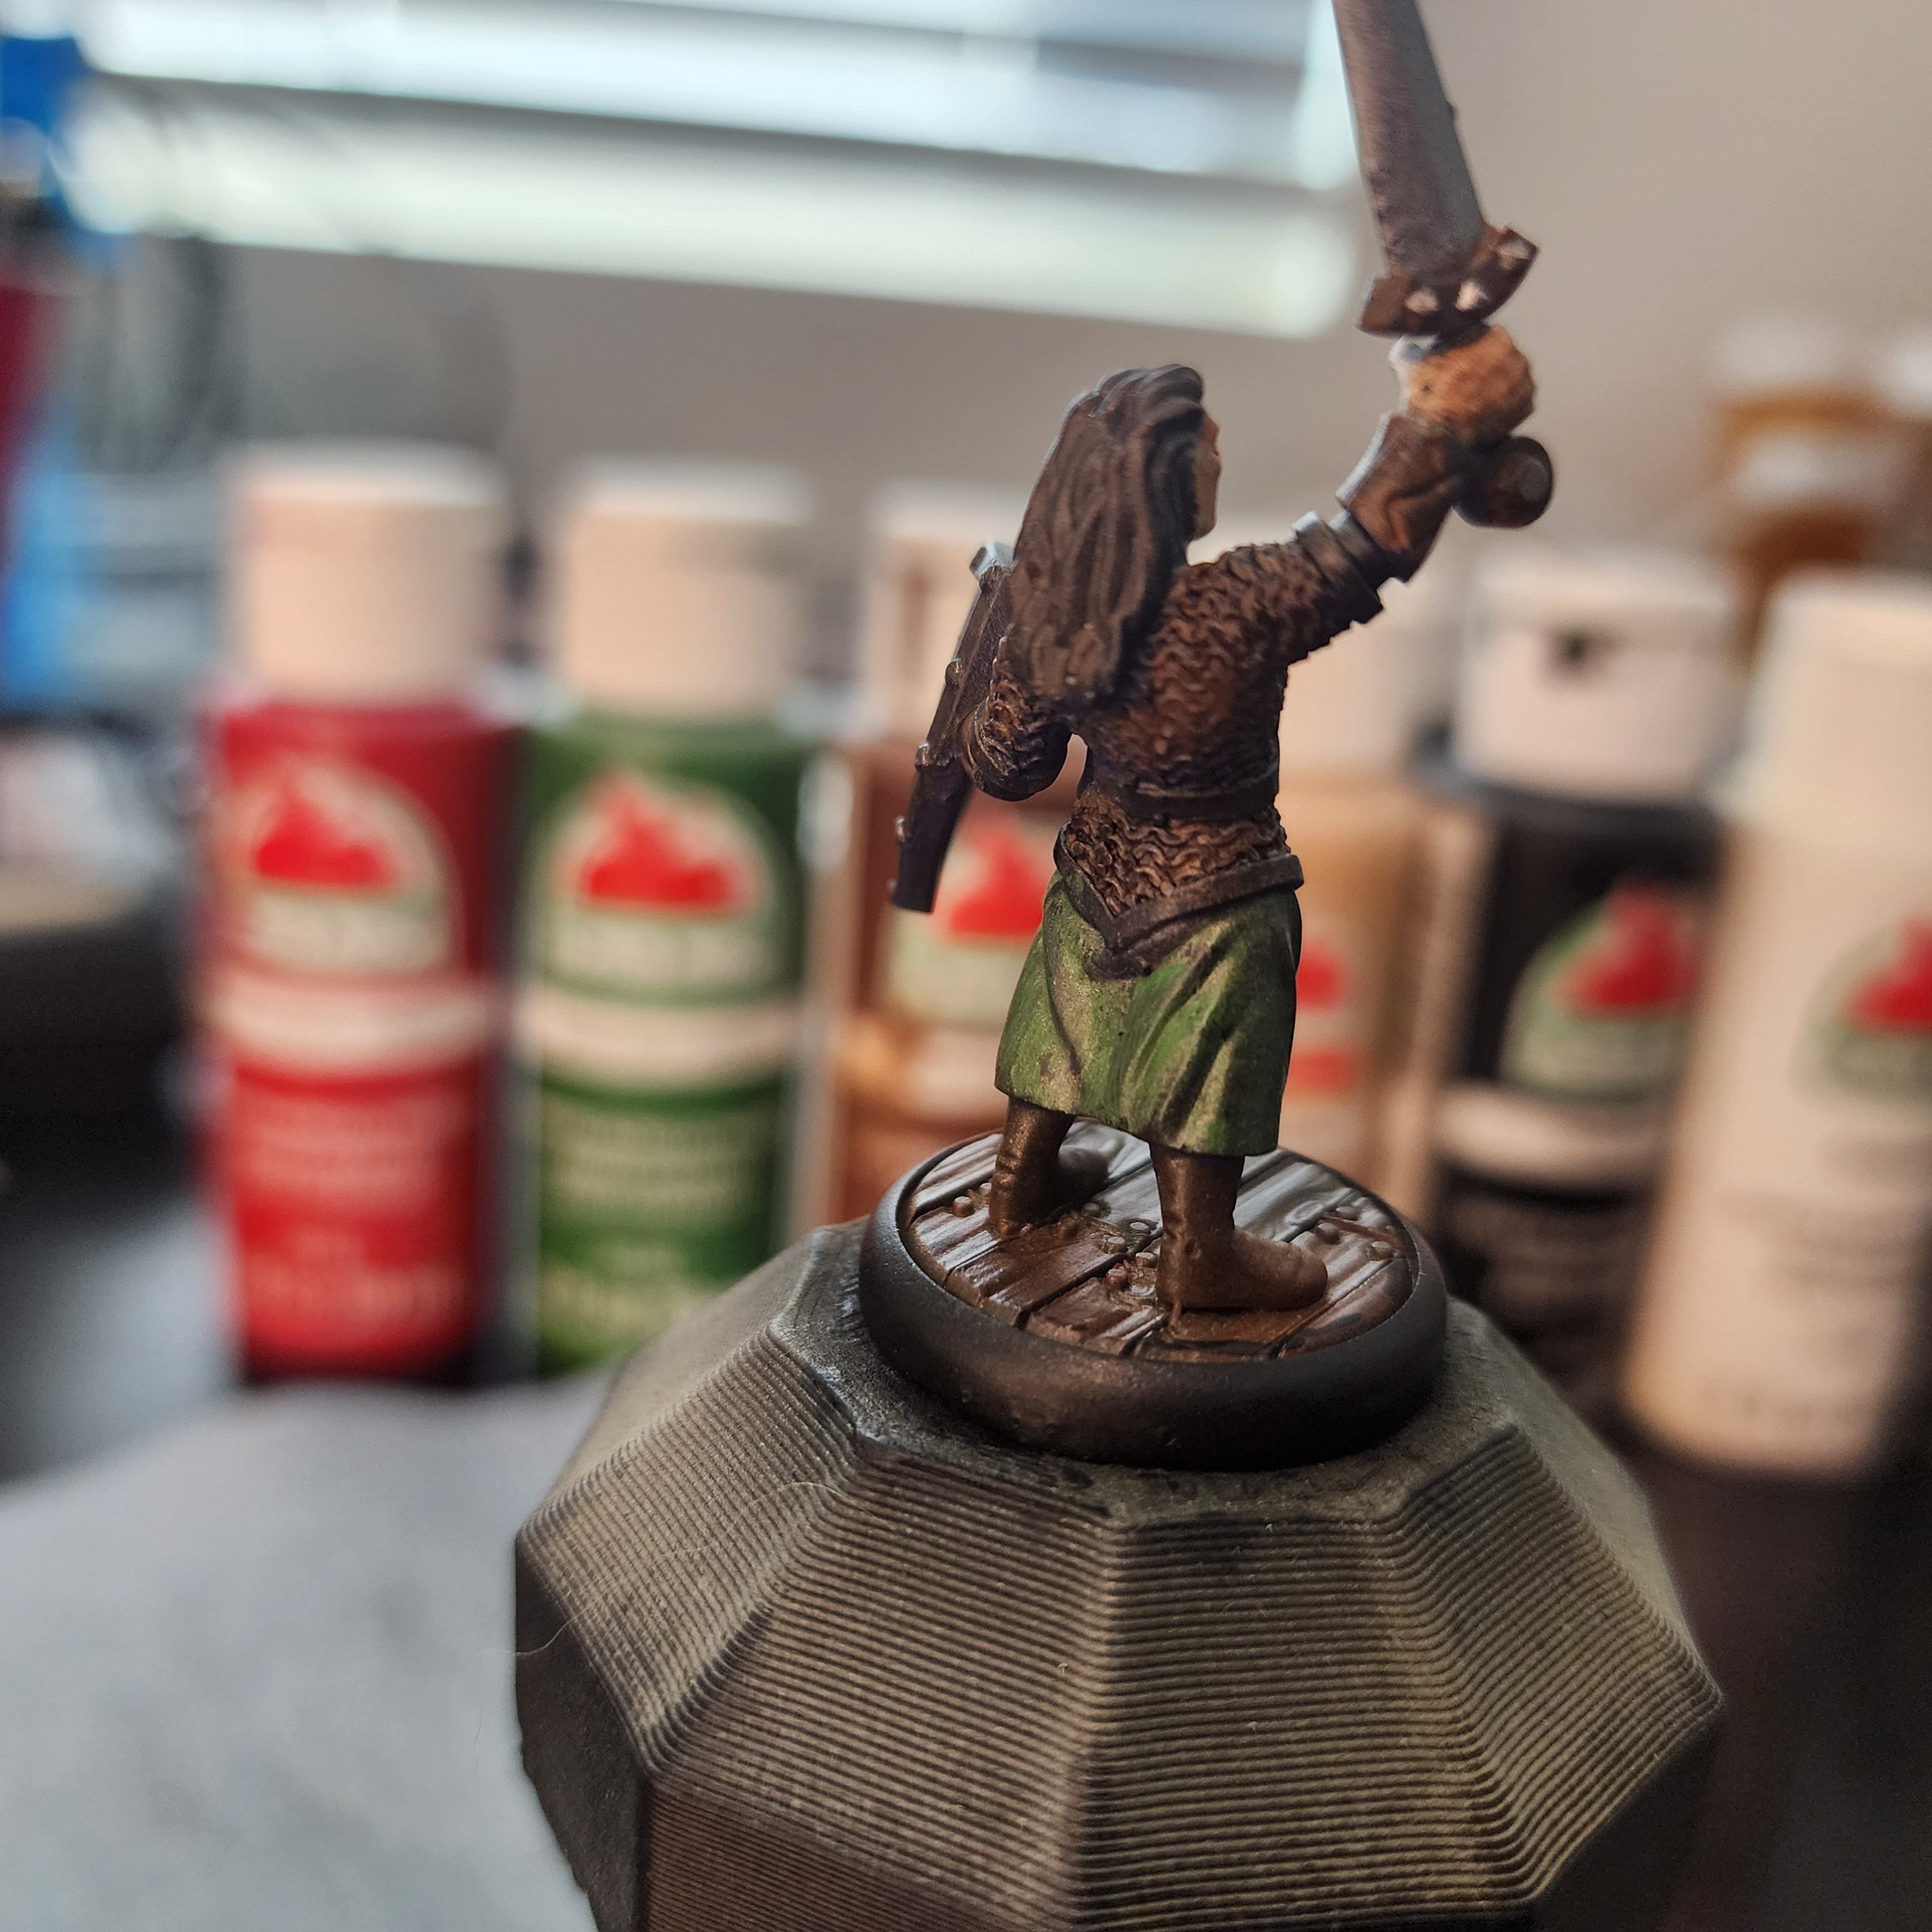

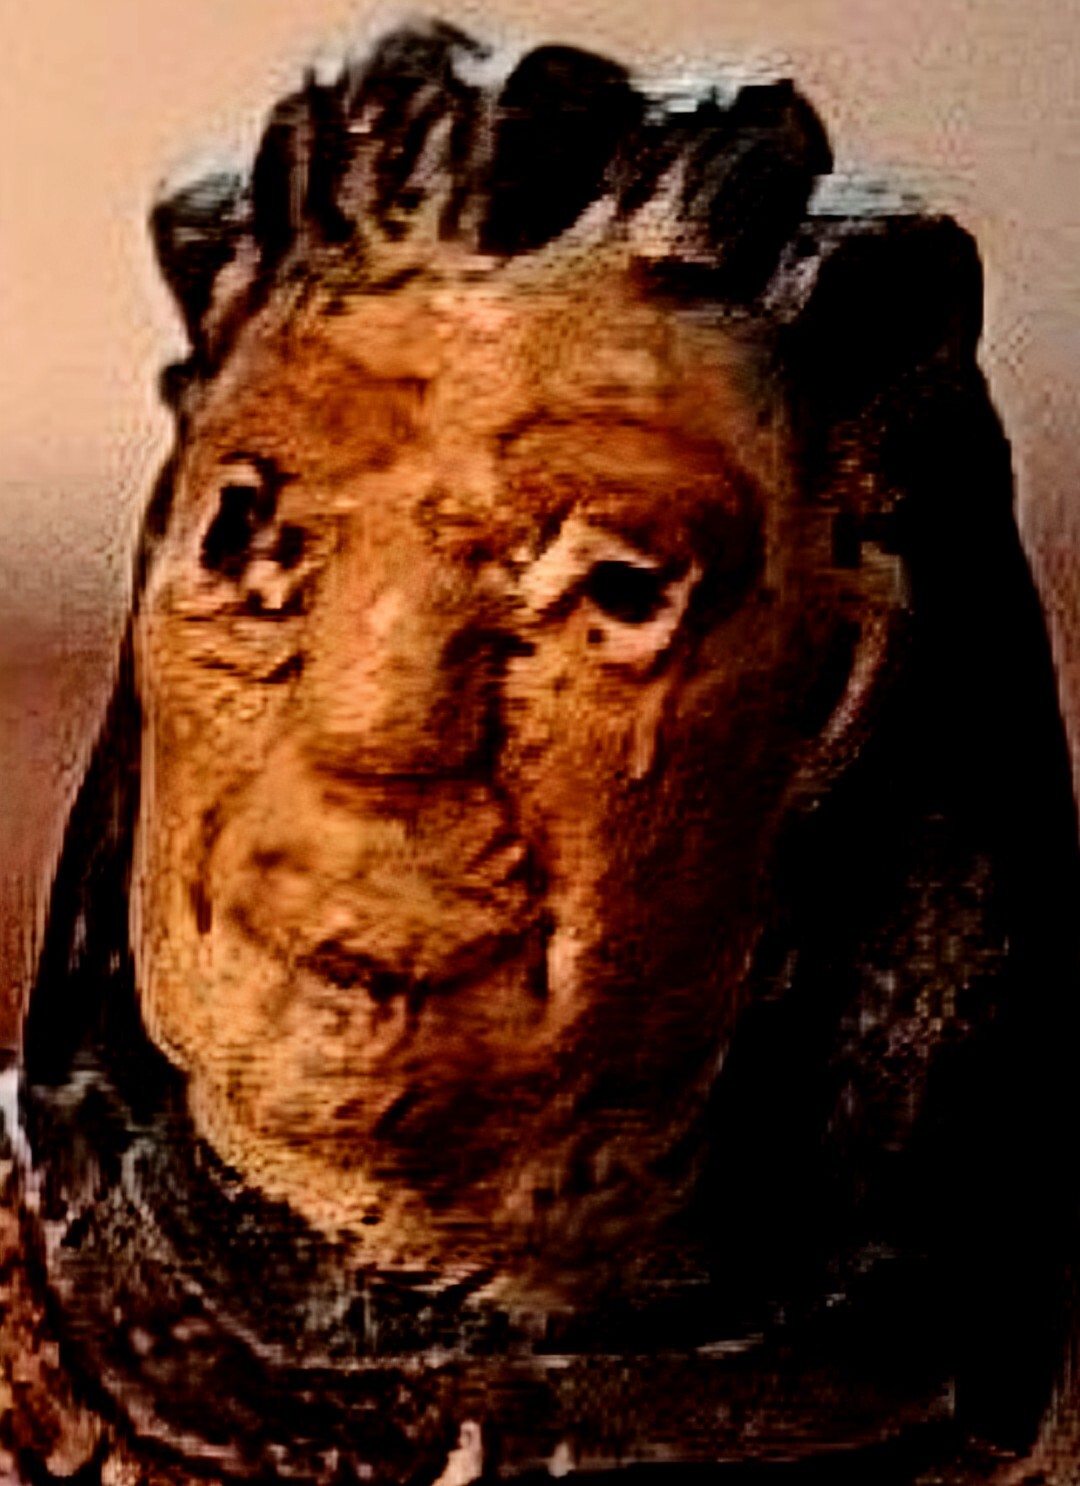
God, it really does look awful zoomed in like that 😂 that’s ok! The next one will totally be better!
The head reminds me of Wyll from BG3 but if he was “restored” by whoever made this mess:
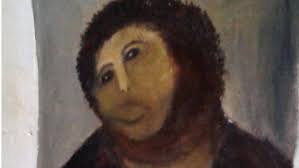
but if he was “restored” by whoever made this mess
I already knew exactly what this was going to be just by reading your comment from my notifications. That was a simpler time.
My face when I looked…
But in all seriousness this looks way better than anything i could do. I love the way the armor came out.
Ha! Yikes. Yeah, the face definitely could’ve been better.
Thanks for the kind words! I’m sure that with a little practice you could crank out something comparable. Grab yourself some dollar store army figurines, the cheapest variety pack of acrylic paint you can find, and see what you can make! You’ll be surprised how good things look when you’re the one who made it.
I’ve found that with those cheap Applebarrel paints, for slightly better results a tiny amount of flow aid helps. It helps thin paints without as much of the ugly separation.
If you are using these paints, I think knowing and working with their limitations creates better results. For faces I would stick to shading the entire eye area rather that trying to paint eyes.
Thanks for the advice. I generally would not use these paints for mini painting, I only am using them for the group setting. I put a small bit of thinner containing flow aid in the clean water cup, which worked well enough for the application. I think getting the additives involved will overwhelm my guests (nobody has any painting or artistic experience).
I agree that painting the eyes was a poor decision. I didn’t like the look of it with just the skin tone, but it probably would’ve looked fine after a wash. I’ll probably skip the eyes when it comes to Paint Day.
Be strong Clarence
Painting party is an awesome idea! Send us pictures of what the group does. My only mini painting has been with bulk acrylic paints, on minis for a board game we like, but the results made me so happy!! Having actual mini paints of any quality, plus input from someone who has done it before, will be a great advantage for you all :)
As long as you are putting in a little effort I find it doesn’t matter how things turn out. The guy I posted here has a face not even a mother could love, but I had fun painting under these constraints and I know I did about the best I could with what I had, so he’s awesome!
I’ll try to remember to snag pics of everyone’s creation.

