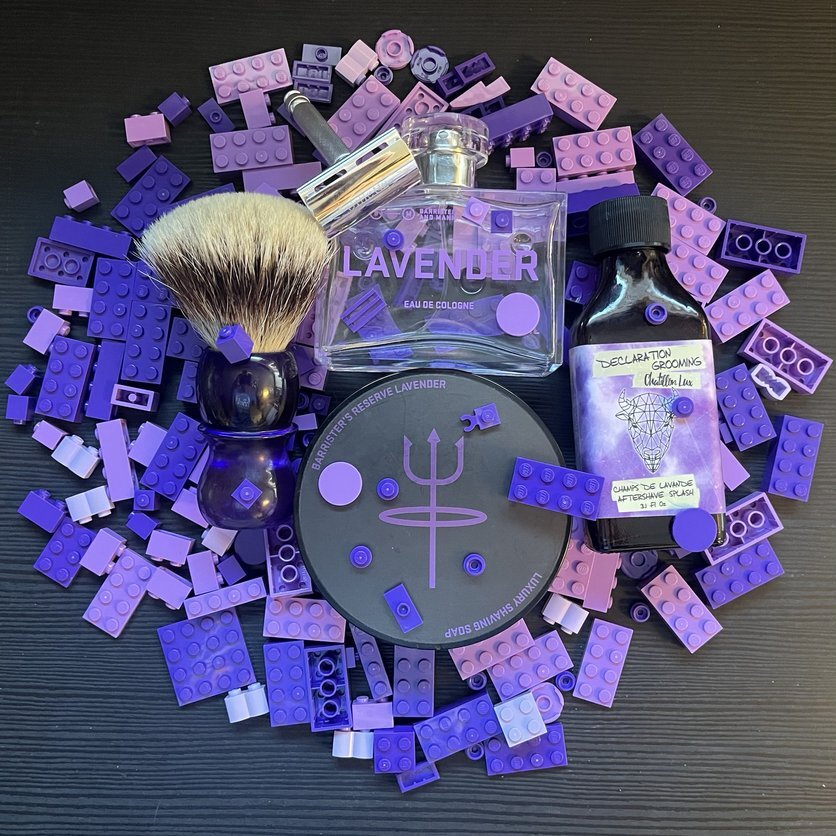
So, I got excited, and didn’t anticipate well how profound the knot would sit in the handle. The knot is glued in with silicone (maybe a little bit too much), and I would like to rescue both knot and handle without damage.
The general advice is: You can just pull it, but Nature has gifted me with the grip strength of a 5 year old child. I have tried it. It simply doesn’t move. Since there are a few chemically and physically knowledgeable people here, my question is: how do I get the knot out, when (my) brute force just does not cut it?
https://m.youtube.com/watch?v=9q0T7MhfN6k solution at about minute 3 Silicone becomes a bit more brittle at high temperatures so that is one option, otherwise you could try putting the brush in the freezer overnight so that the silicone becomes more brittle while cold. Mind that I know nothing about knots and handles, so I don’t know what could ruin them
Thanks, I will check the link!
@sgrdddy@sub.wetshaving.social made a great video on this.
Thanks 👍
I’ve experienced this once before, putting to rest my disbelief of similar stories. The one I had problems with had too much silicone, so it was all up around the sides, etc.
I don’t remember how I got it out, but I think twisting while pulling helped.
I tried twisting, I tried shouting, but so far, no joy 😭
I’m not familiar with shave brush construction but have a good deal of experience making things and taking them apart.
As others suggested, temperature’s influence on the properties of the material could be useful. Also, there is glue along the perimeter, it may help to use a thin metal tool to “cut” the glue if you can do so without causing damage.
Don’t underestimate the influence of adhesive along the perimeter of a cylindrical joint on the influence of a joint’s strength, especially if it is also glued on the back surface. The perimeter gluing both a substantial amount of surface area in a small space AND constrains the joint in a second axis. Most adhesives are weaker against shearing forces so, preventing rotation helps prevent glue on the back/blind surface from being subjected to shearing force via rotation (it’s already constrained against translational movement that could cause shearing forces).
Beyond that, I’d suggest taking notes from machining and automotive tasks that are similar. Use and make tools to help overcome the problem that you’re not succeeding at beating with your body alone. If you have a vice or strong clamp, you can probably “brute force” a bit more easily. With one end secured in the vice, and any perimeter adhesive seen to, you now can apply force needed more readily.
If that doesn’t do it, it might be time to make yourself what I’ll call a “knot-pulling jig” (note that this is theoretical, I’ve not built one of these but it should work).
- Obtain two bolts and matching washers and nuts. These should be fairly beefy and at least 1.5 to 2 times the length of the brush handle. Optionally, also obtain matching cap nuts.
- Drill holes in square-ish wood scraps slightly smaller than the handle and knot, respectively. (Scraps should probably be at least double the diameter of the handle).
- Cut both wood pieces across the holes in the center in the middle of one of the pairs of sides (should end up with 2x arch shapes per square)
- Glue grippy material (leather or silicone) across the inside of the holes. You now have two clamps.
- Pick one clamp and drill a hole wide enough for your bolts in opposite corners of the face (one on each “arch”).
Now, you’re ready to pull. How to use:
- Place the clamp halves over their matching components and screw the halves together. This should result in the handle and knot being tightly clamped in their respective clamps.
- Secure the half without bolt holes in a vice or strong clamp. You don’t want it to move.
- Slide the bolts through their holes so that the threaded end can touch the clamp that is in the vice.
- Slide a washer into each bolt so that it is in between the two clamps, then thread a nut up to snug it. Optionally, now add a cap nut to each bolt.
- Using a wrench to hold the nut in place against the washer (which is against the inside of one of your clamps), take turns tightening the two nuts. They should push against opposing clamp and eventually pull the knot out.
This may be a bit of overkill but, if you have hand strength limitations, this jig could give you a massive mechanical advantage.
Thanks a lot for your very thorough explanations! 🙏
I hope I’ll be able to extract the knot with the help of steam and heat - otherwise, I’ll go with your jig!
You’re welcome! Best of luck and definitely try breaking any perimeter adhesive. It is crazy how much of an impact that second gluing surface can have.


